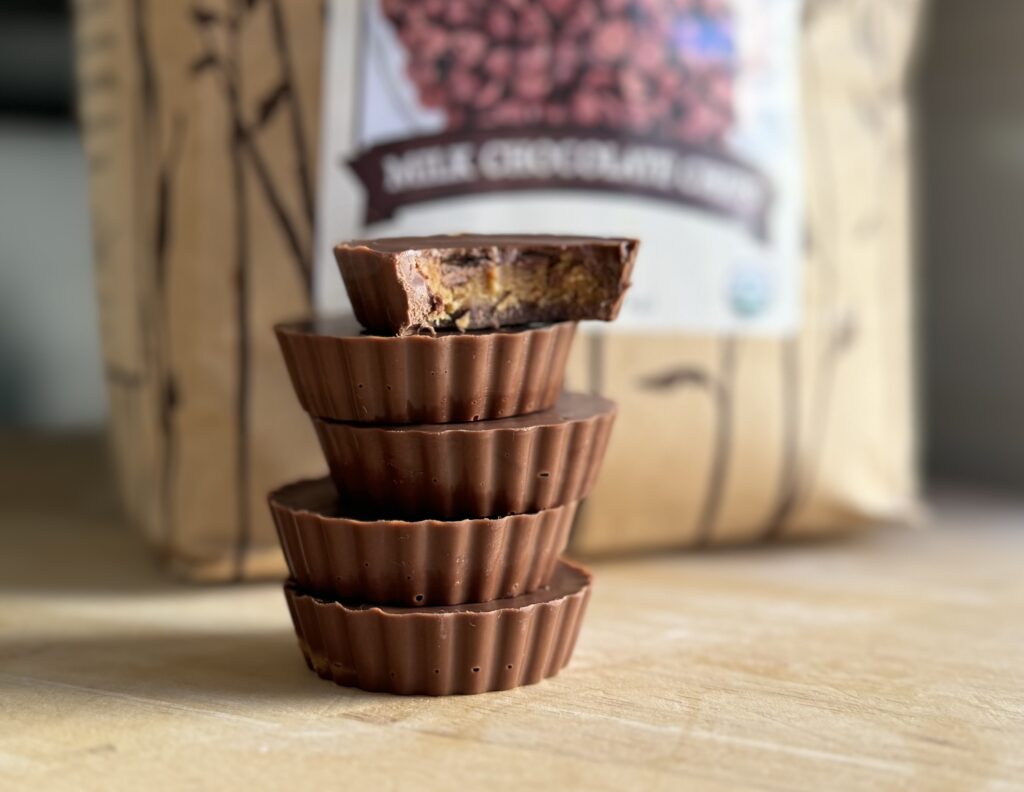
There’s something about having a little homemade treat tucked away in the refrigerator. These homemade peanut butter cups are one of those simple things that take very little effort but always feel like something special.
Made with creamy peanut butter and rich chocolate, they’re a wonderful alternative to the store-bought version. And the best part is that you probably already have most of the ingredients in your pantry.
A Little Something Sweet
I’ve always loved recipes that don’t require a long list of ingredients or an entire afternoon in the kitchen. Sometimes the simplest things are the ones we return to most often.
These peanut butter cups are just that. They’re easy to make ahead, keep beautifully in the refrigerator, and are perfect for enjoying with an afternoon cup of coffee.
Making More at Home
Over the years, I’ve found myself making more and more of the things we once bought at the grocery store.
Not necessarily because homemade is always cheaper or easier, but because there’s something satisfying about knowing exactly what goes into the food we eat.
And when a recipe is this simple, it hardly feels like extra work.
A Few Tips Before You Begin
The wonderful thing about homemade peanut butter cups is how easily you can adjust them to your liking.
- Choose your favorite chocolate. Milk chocolate will give you a sweeter treat, while dark chocolate creates a richer flavor.
- Use creamy peanut butter. It makes the filling smooth and easy to work with.
- Give them time to chill. Allowing the chocolate to set completely helps the cups hold their shape.
- Make a batch ahead. Store them in an airtight container in the refrigerator for an easy treat throughout the week.
Why I Love Keeping Homemade Treats on Hand
There’s something lovely about opening the refrigerator and finding a little something you’ve made yourself.
Whether it’s a batch of cookies, homemade granola, or these peanut butter cups, having a few familiar favorites on hand makes everyday life feel a little more special.
And that’s really what I enjoy most about cooking from scratch. It doesn’t have to be complicated or elaborate. Often, it’s the smallest things that become part of our routines.
How to Store Homemade Peanut Butter Cups
Once the chocolate has completely set, transfer the peanut butter cups to an airtight container.
They can be kept in the refrigerator for several days, making them a convenient make-ahead treat.
For longer storage, you can also freeze them and thaw individual portions as needed.
Homemade Peanut Butter Cups Recipe
[INSERT YOUR WP RECIPE MAKER RECIPE CARD HERE]
More From Our Kitchen
If you enjoy making simple treats from scratch, there are plenty of other recipes worth trying. From homemade marshmallows to everyday pantry staples, there’s always something new to make in the kitchen.
Thanks for spending a little time here. I hope this recipe finds its way into your kitchen, too.
Homemade Peanut Butter Cups
Equipment
- Stand Mixer
Ingredients
- 1 cup Semisweet Chocolate Chips
- 1 tbsp Coconut Oil
Instructions
- Prepare the muffin tin. Line a standard 12-cup muffin tin with paper liners.
- Melt the chocolate. Combine the chocolate chips and coconut oil in a heatproof bowl. Melt gently using a double boiler or microwave in 20-second intervals, stirring until smooth.
- Make the bottom layer. Spoon approximately 1 teaspoon of melted chocolate into each liner. Gently spread the chocolate to cover the bottom. Refrigerate for 10 minutes.